
Run the application icon on the desktop or on start menu.
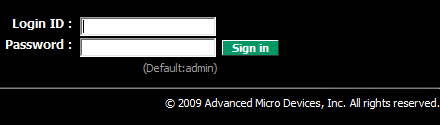
Will open the Web browser window, and login page.
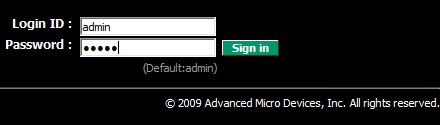
The default value which to be entered either as a Login ID and Password is admin.
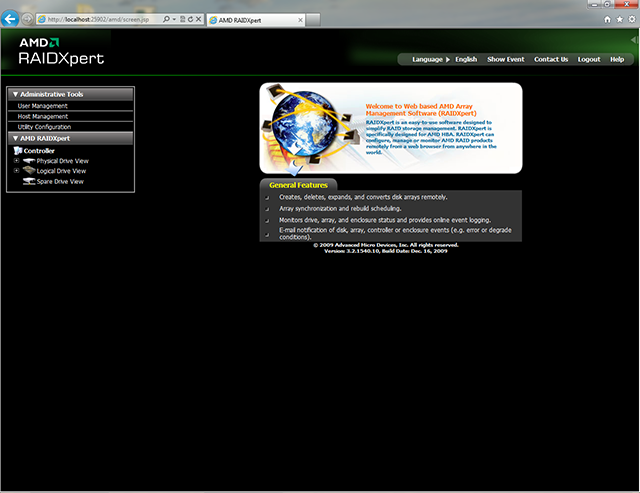
After logging in, to our eyes appears a screen as above. To create a RAID, click on Logical Drive View.
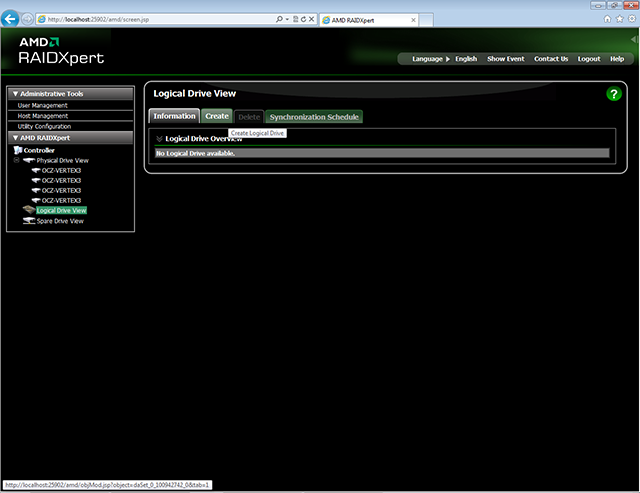
Then go to the Create tab.
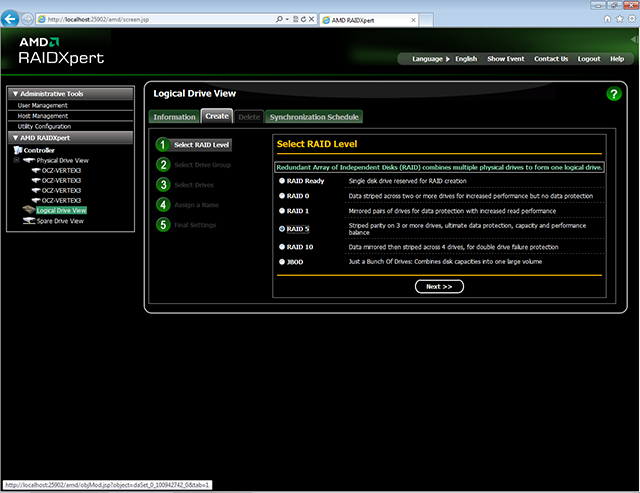
In the first step of creating a matrix, select its type. In our example, it is RAID 5 array. Click on Next >> to proceed to next step.
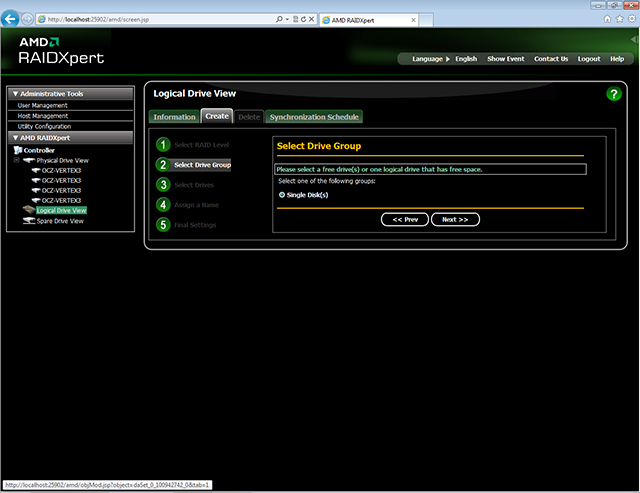
In this step, we choose, whether we want to create a matrix on a single free drives, as in a situation like in the screenshot above. Is on the disks which already belong to a matrix, but have more free space. In our example, the only one available option is automatically selected. Move on by clicking on Next >>.
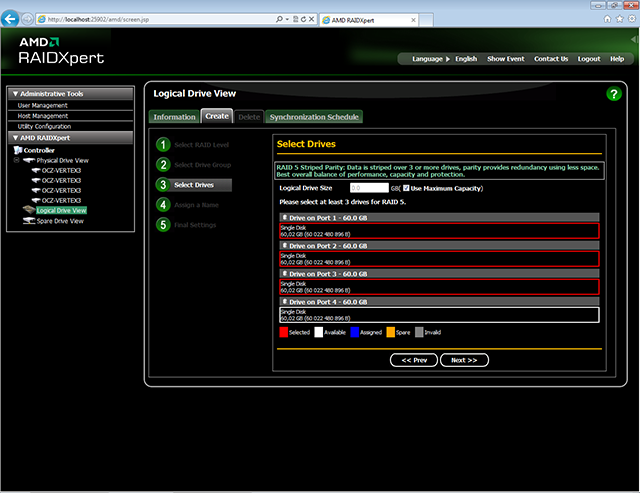
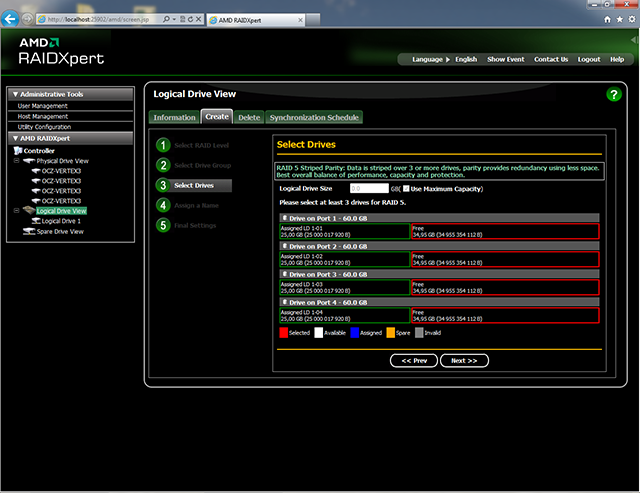
In this step, we select via mouse which discs you want to use. In the example was selected the first three, which is the minimum amount for a RAID 5 array. In addition, in this step can adjust the size of the matrix. We stay with the option, which is selected by default of the maximum available capacity. Again, to the next step we go through Next >>.

We give to our array the name and we click Next
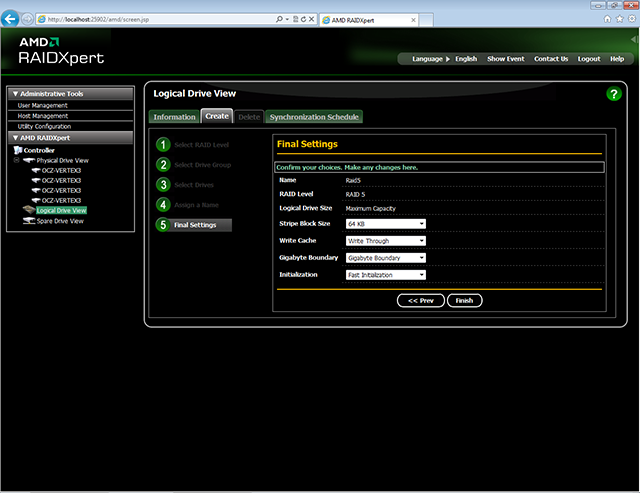
In the fifth, the last step, we define all the options related with the size of the strip, buffer of write, option a Gigabyte Boundary and initialization.
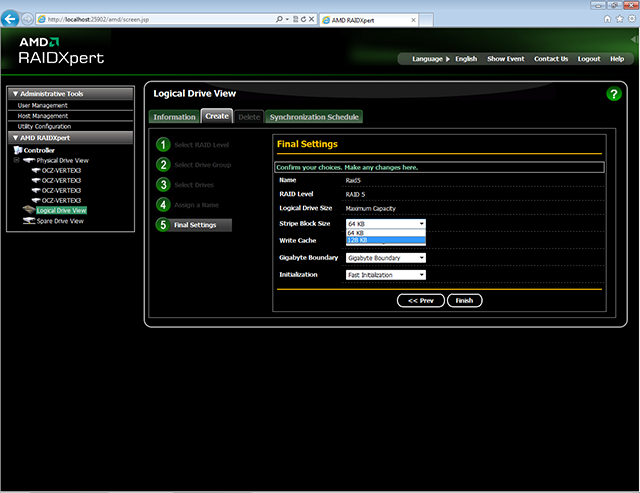
We set the stripe size "Stripe Block Size". The options are 64KB and 128KB (In the Utility is also available 256KB).
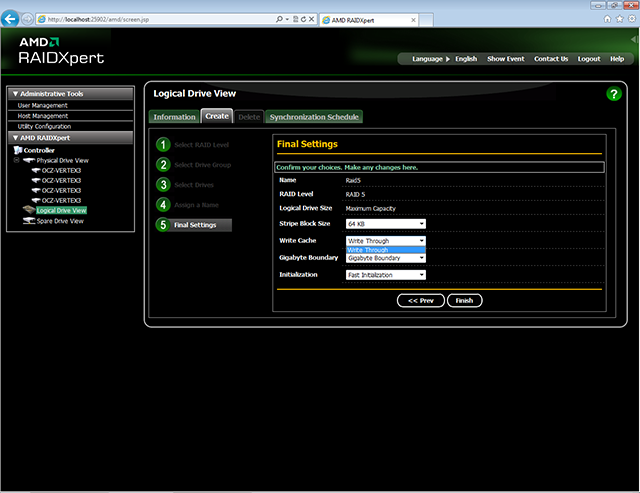
We set the write buffer. As you can see only available option is "Write Through" - the lack of this buffer.
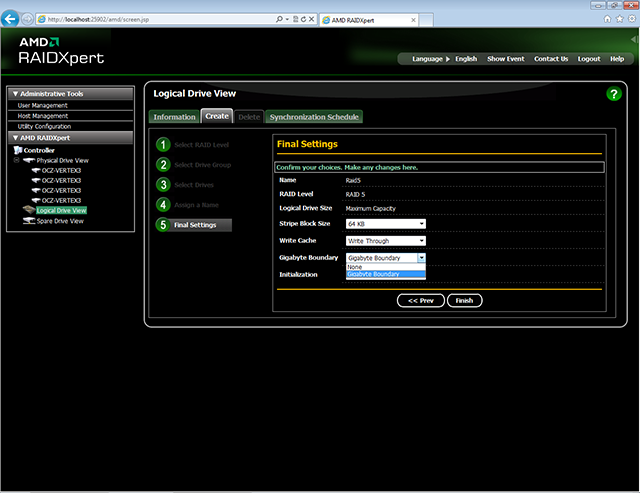
We set the rounding size of the matrix to full gigabytes "Gigabyte Boundary", or turn off this option to None.
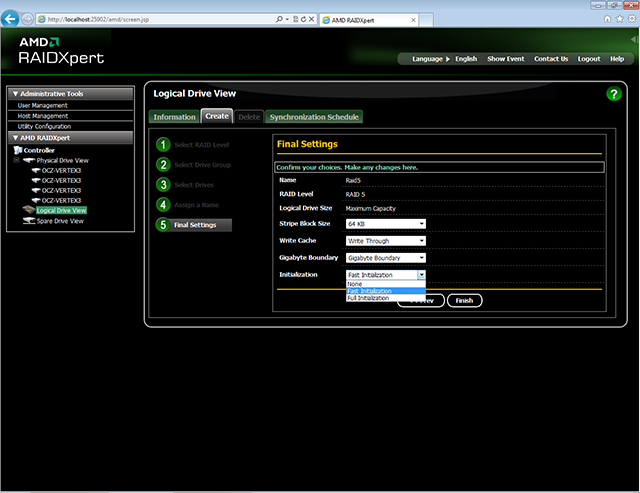
Set the initialization options. None - its absence, Fast Initialization - fast, Full Initialization - full, performs the full format of drives. After setting all options we confirm by clicking on Finish.
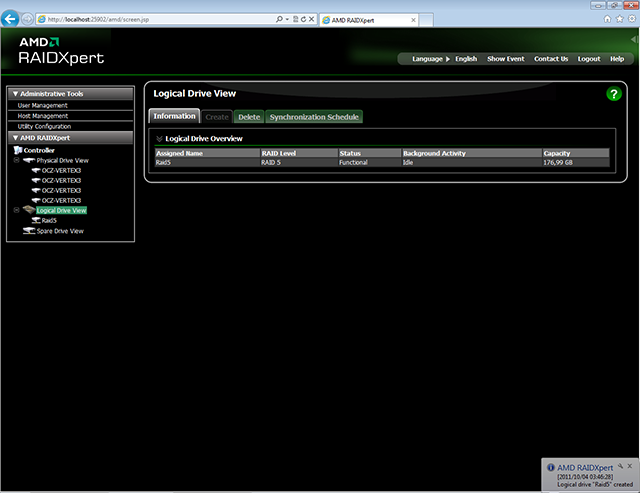
Done. Our RAID5 is now ready to work.
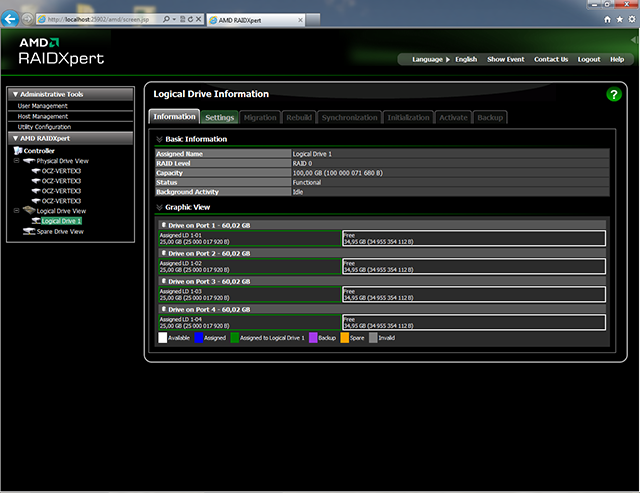
Above is a screenshot of preview a RAID 0 built with restricted size to 100GB.
On the remaining space, we create a RAID 5 array
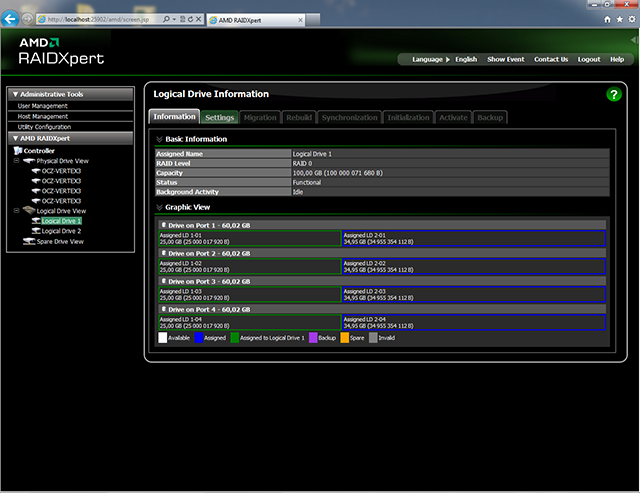
And the view of our RAID 0 looks already a little different.
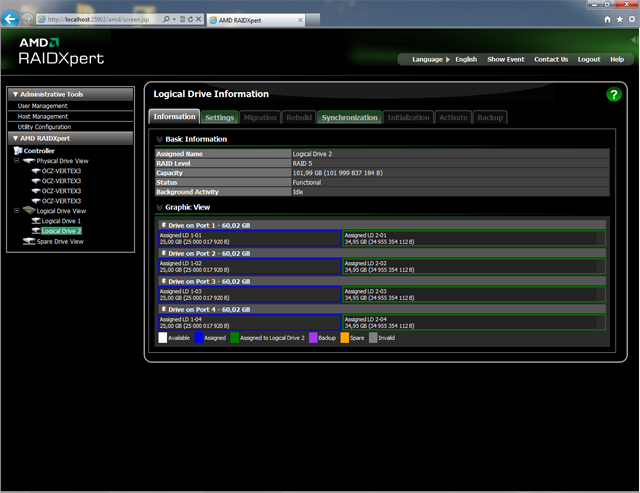
You can also preview a RAID 5
Data Retrieval in San Antonio - raid repair and 24/7 data recovery, hard drive recovery

