Recovery of Individual Files on a VMware Virtual Machine
When file damage occurs on a VMware virtual machine, you can recover the damaged files instead of the full virtual machine. This saves the restoration time.
1. Recovering Individual Files on a Virtual Machine in Linux
When file damage occurs on a virtual machine in Linux, you can recover the damaged files using backup images.
Prerequisites
A NetBackup client has been installed on the Linux virtual machine.
A NetBackup Administration Console software has been installed on the management terminal.
If the firewall is enabled on the client, open the ports 13724 and 1556 of the client, or the backup and recovery jobs may fail. For details about ports, see OceanStor HDP3500E G3 V100R003 Communication Matrix.
Before the recovery, ensure that the virtual machine has been fully backed up at least once.
Procedure
Log in as an administrator to the management terminal.
Log in to the Backup, Archive, and Restore interface of the NetBackup client.
Choose
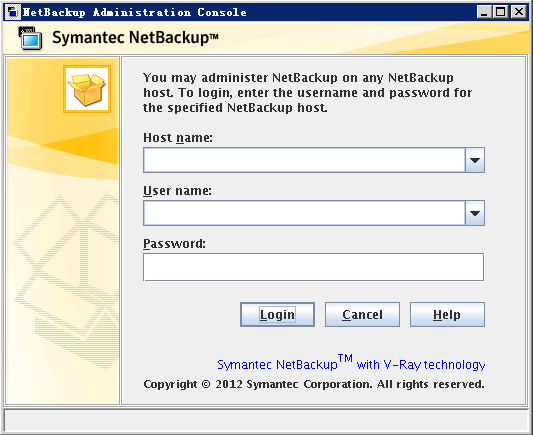
Start > All Programs > Symantec NetBackup > NetBackup-Java Version 7.5. The NetBackup Administration Console login page is displayed.
Enter the IP address of the virtual machine in Host name.
Enter root in User name.
Enter the password of user root of the virtual machine in Password.
Click Login.
The Backup, Archive, and Restore management interface is displayed.
Click Restore Files tab page.
In the function pane, click.
The Specify NetBackup Machines and Policy Type dialog box is displayed.
Set Policy type for restore to VMware and click OK to save the settings.
Set the Restore type to Normal Backups.
In the Browse directory input box, enter the path of the file that you want to recover. Click.
In the Directory Structure area, the backup images of all the files in the entered path are displayed.
Select the backup image of the file that you want to recover. Click Restore.
The Restore Marked Files dialog box is displayed.
In the Destination area, select Restore everything to its original location to set the recovery location.
The original location is used as an example.
Table 1Destination of parameters in the Destination area
Parameter
Description
Recover everything to its original location
All files will be recovered to the original location.
Recover everything to a different location
All files will be recovered to another location.
Recover individual directories and files to different locations
Certain directories (folders) and files will be recovered to another location.
Create virtual disks and redirect to them
A new virtual hard disk file will be created and files will be recovered to the virtual file.
NOTE:
This option applies only to Windows.
In the Option area, select Overwrite existing files. Click Start Restore.
The View Progress dialog box is displayed.
Click Yes to view the recovery process.
On the Task Progress tab page, recovery details is displayed.
NOTE:
If Error is displayed after the recovery is complete, rectify faults based on the information that is displayed. Start the recovery again.
2. Recovering Individual Files on a Virtual Machine in Windows
When file damage occurs on a Windows virtual machine, you can recover the damaged files using backup images.
Prerequisites
A NetBackup client has been installed on the Linux virtual machine.
If the firewall is enabled on the client, open the ports 13724 and 1556 of the client, or the backup and recovery jobs may fail. For details about ports, see OceanStor HDP3500E G3 V100R003 Communication Matrix.
Before the restoration, ensure that the full virtual machine has been backed up at least once.
Procedure
Log in to a Windows virtual machine as user Administrator.
Choose Start > All Programs > Symantec NetBackup > Backup, Archive, and Restore.
The Backup, Archive, and Restore page is displayed.
Choose File > Specify NetBackup Machines and Policy Type.
The Specify NetBackup Machines and Policy Type dialog box is displayed.
Set Policy type for restore to VMware.
Click OK.
The Specify NetBackup Machines and Policy Type dialog box is displayed.
Set Select for Restore to Restore from Normal Backup.
The Restore dialog box is displayed.
Select the files that you want to recover in the All Folder area.
Click
The Restore Marked Files dialog box is displayed.
Set the recovery location in the Destination area.
Table 2Destination of parameters in the Destination area
Parameter
Description
Recover everything to its original location
All files will be recovered to the original location.
Recover everything to a different location
All files will be recovered to another location.
Recover individual directories and files to different locations
Certain directories (folders) and files will be recovered to another location.
Create virtual disks and redirect to them
A new virtual hard disk file will be created and files will be recovered to the virtual file.
In the Restore Options area, select Overwrite existing files and click Start Restore.
The NetBackup Message dialog box is displayed.
Click Yes.
The View Status dialog box is displayed indicating the recovery status.
You can view the recovery status in the View Status dialog box. If the recovery fails, view the details and rectify faults based on the information that is displayed. Start the recovery again.
Viktor S., Ph.D. (Electrical/Computer Engineering), was hired by DataRecoup, the international data recovery corporation, in 2012. Promoted to Engineering Senior Manager in 2010 and then to his current position, as C.I.O. of DataRecoup, in 2014. Responsible for the management of critical, high-priority RAID data recovery cases and the application of his expert, comprehensive knowledge in database data retrieval. He is also responsible for planning and implementing SEO/SEM and other internet-based marketing strategies. Currently, Viktor S., Ph.D., is focusing on the further development and expansion of DataRecoup’s major internet marketing campaign for their already successful proprietary software application “Data Recovery for Windows” (an application which he developed).


 .
. .
. NOTE:
NOTE:  The Restore Marked Files dialog box is displayed.


